
Turn the rear dial to set ISO on your GR, no ISO key needed
On a stock GR you press the ISO key before a dial changes ISO. A user who was used to other cameras asked for ISO on a dial, right away. The new Rear dial sets ISO feature does that: in shooting standby, turn the rear dial (the ring around the four-way controller) and ISO changes at once.
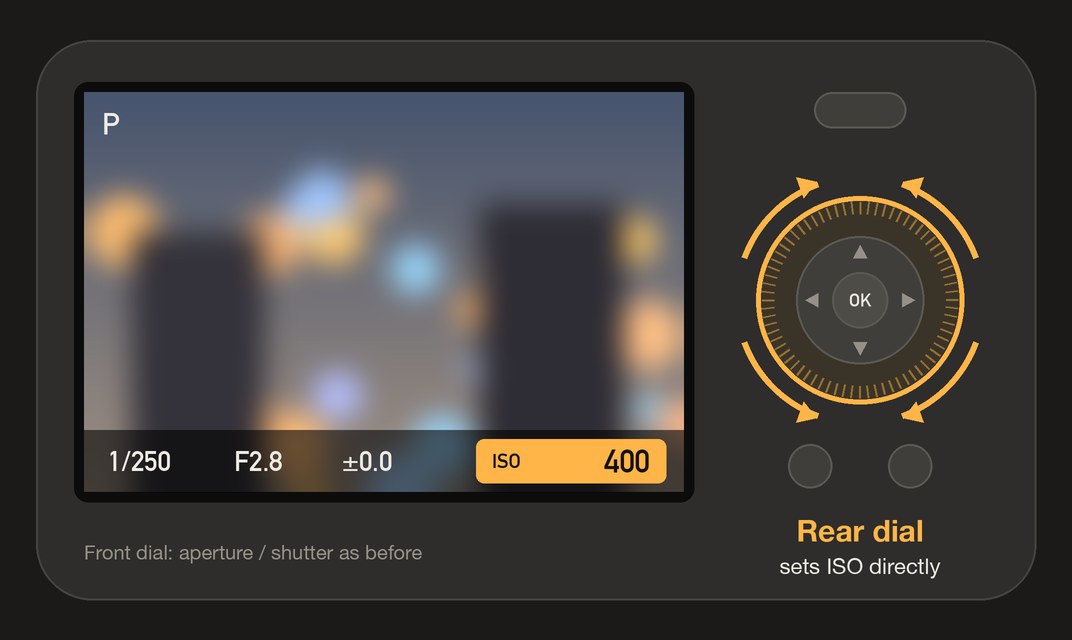
How it works
- In shooting standby, just turn the rear dial: AUTO ⇄ 100 ⇄ 125 ⇄ 160 ⇄ … ⇄ 102400, stopping at the highest ISO.
- Below the lowest ISO is AUTO; turning up from AUTO goes straight to the lowest ISO.
- One click is one exposure step, the camera’s own (1/3 EV by default).
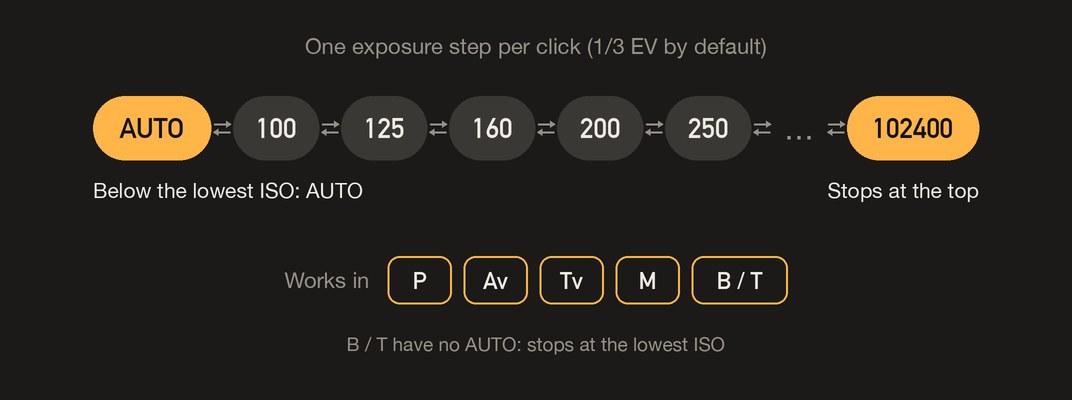
In each mode
- Works in P, Av, Tv, M and B / T; the front dial still sets aperture / shutter speed.
- In M the rear dial used to set exposure compensation, and with the bulb timer it set the time. With this feature it sets ISO in both.
- B / T have no AUTO, so it stops at the lowest ISO.
- The ISO key works as before; in menus, playback and movie mode the rear dial is unchanged too.
Getting started
- Open the firmware store and tick Rear dial sets ISO. It can be ticked on its own or together with other features.
- Generate a new firmware and install it as before.
- It works as soon as it is installed; there is no switch in the camera.
Good to know
- Supports GR IIIx 1.60 / 1.70 and GR III 2.10 / 2.20; confirmed on a GR IIIx with 1.70. Not yet tested on a GR III.
- The feature stores no settings: after flashing back to the stock firmware, the rear dial works as stock again.
- This is not an official Ricoh tool. Installing unofficial firmware carries risk: keep the stock firmware so you can go back.
This post was first sent by email to GRLife users. To get the next one, sign in and turn on email notifications in Account settings.